
Embarking on a new compressed air system installation is an exciting prospect. It’s a chance to build a clean, efficient, and powerful network that will serve as the backbone of your workshop or facility. However, in the rush to get air flowing, it’s easy to overlook small details that can lead to big problems down the road. At Aluminum Air Pipe, we believe that a little foresight goes a long way. To help you build with confidence, we’ve outlined some of the most common—and costly—mistakes we see, and how you can easily avoid them from the start.
Is it okay if I just run the pipe in the most direct route to save material?
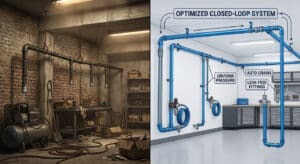
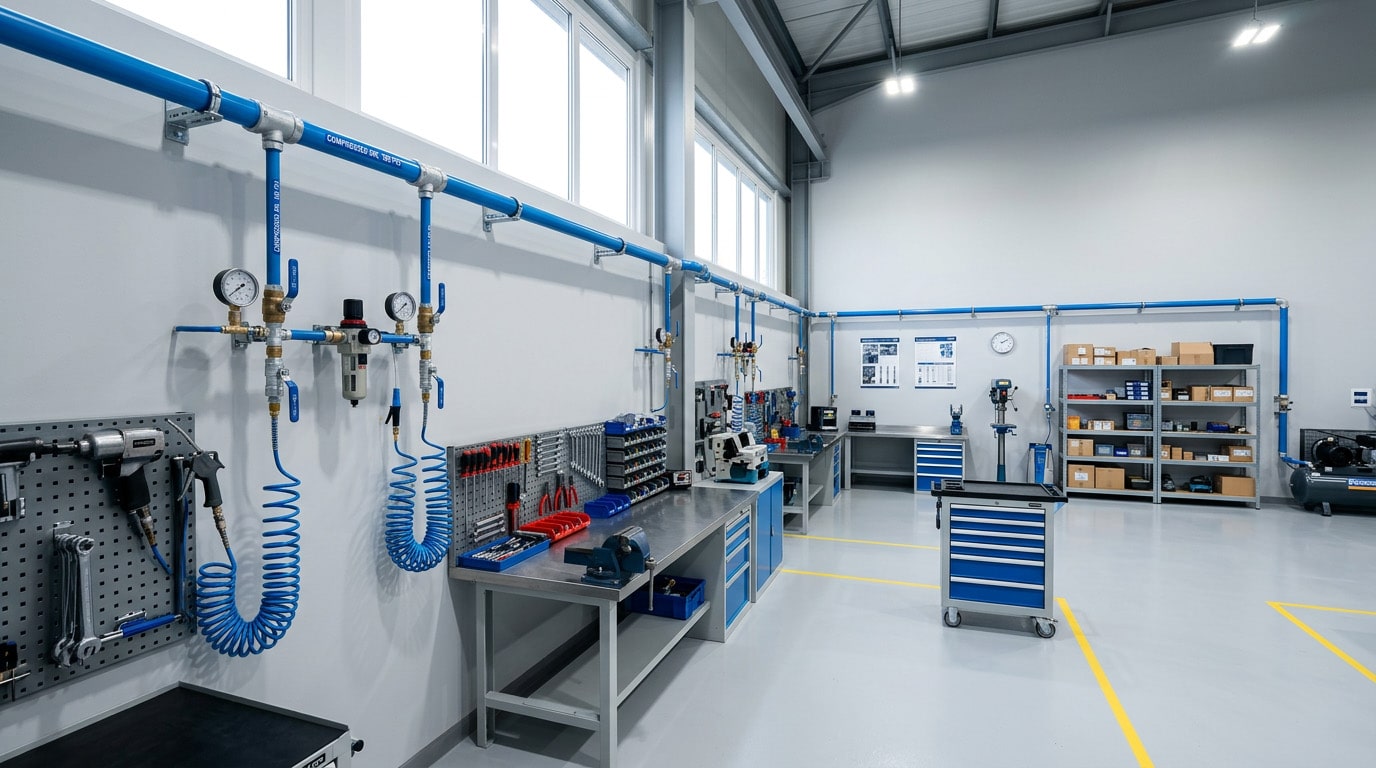
While the shortest distance between two points is a straight line, this isn’t always the best strategy for compressed air. A common mistake in system layout is creating long, linear “dead-end” runs. In this design, the air travels in only one direction, and the tool at the very end of the line will always experience the lowest pressure and volume, especially when other tools are in use upstream. A far superior design is the “closed-loop” or “ring main” system. By running the pipe around the perimeter of your space and connecting the end back to the beginning, you create a continuous loop. This allows air to travel to any workstation from two different directions, dramatically equalizing pressure across the entire system and ensuring consistent performance everywhere. While it may use slightly more pipe upfront, the long-term benefits in performance and efficiency are immense. Creating this professional layout is surprisingly simple with the right modular compressed air fittings.
Why is my air wet at the tool, even though I have a dryer right after the compressor?
This is one of the most frustrating issues for users, especially in applications like painting or plasma cutting where moisture is the enemy. The culprit is almost always condensation. As hot, compressed air leaves your compressor and travels through the cooler ambient temperature of your pipes, it cools down. Just like dew forming on grass, this cooling process causes water vapor in the air to condense into liquid water inside your pipes. If your drop lines (the pipes that come down from the mainline to your workstation) simply T-off from the side or bottom of the pipe, gravity will guide all that accumulated water directly down into your hose and tool. The professional solution is a simple but critical installation detail: the “gooseneck” or “drip leg tee.” By having the drop line connection come off the top of the main pipe, any liquid water flowing along the bottom of the mainline will bypass the drop, continuing on to a drain point at the end of the run. This small change in layout makes a massive difference in delivering dry air to your point of use.
My shop is small now, so I used smaller pipe to save money. Is that a problem?
Sizing your pipe based only on your current needs is a trap that can be expensive to escape. While a smaller diameter pipe may handle the output of your current compressor, it leaves you with no room for growth. If your business expands and you need to add more tools or upgrade to a larger compressor, that undersized piping will become a bottleneck. It will create severe pressure drop, forcing your new, more powerful compressor to work inefficiently just to push air through the restrictive lines. The cost difference between one pipe size and the next is relatively small during the initial installation. The cost of ripping out and replacing an entire undersized system, however, is substantial. Always design your main lines with the future in mind. It’s a wise investment that ensures your air system can grow with your ambition, not hold it back. For guidance, reviewing resources from industry leaders like the Compressed Air & Gas Institute (CAGI) can provide valuable insights into proper sizing and system planning.
I’ve installed the pipe, but why are all the mounting brackets and supports so important?
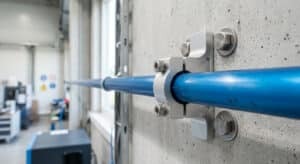
After the work of cutting and connecting your pipes, installing the mounting hardware can feel like a tedious final step. However, skipping or skimping on proper support is a critical error. An unsupported or poorly supported pipeline is susceptible to sagging, which puts constant stress on the fittings and connection points. Over time, this stress, combined with natural system vibrations, can lead to the development of micro-leaks or even catastrophic joint failure. Each bracket and hanger is engineered to secure the system, maintain its integrity, and ensure that the push-to-connect seals remain perfectly seated. Proper support isn’t just about making the installation look neat and professional; it’s a fundamental part of ensuring the long-term safety, reliability, and leak-free performance of your entire network. To complement a great layout, you should always plan for effective air treatment by choosing the right filters and regulators to protect your tools and your work.
By avoiding these common pitfalls, you’re not just installing pipes; you’re engineering a robust, efficient, and reliable utility for your workspace. A little extra planning today will pay dividends in performance and peace of mind for years to come.